Pi I/O Configuration Tab
The Pi I/O page contains settings for Raspberry Pi pin usage, including status indicators and hardware control lines exposed through the web interface.
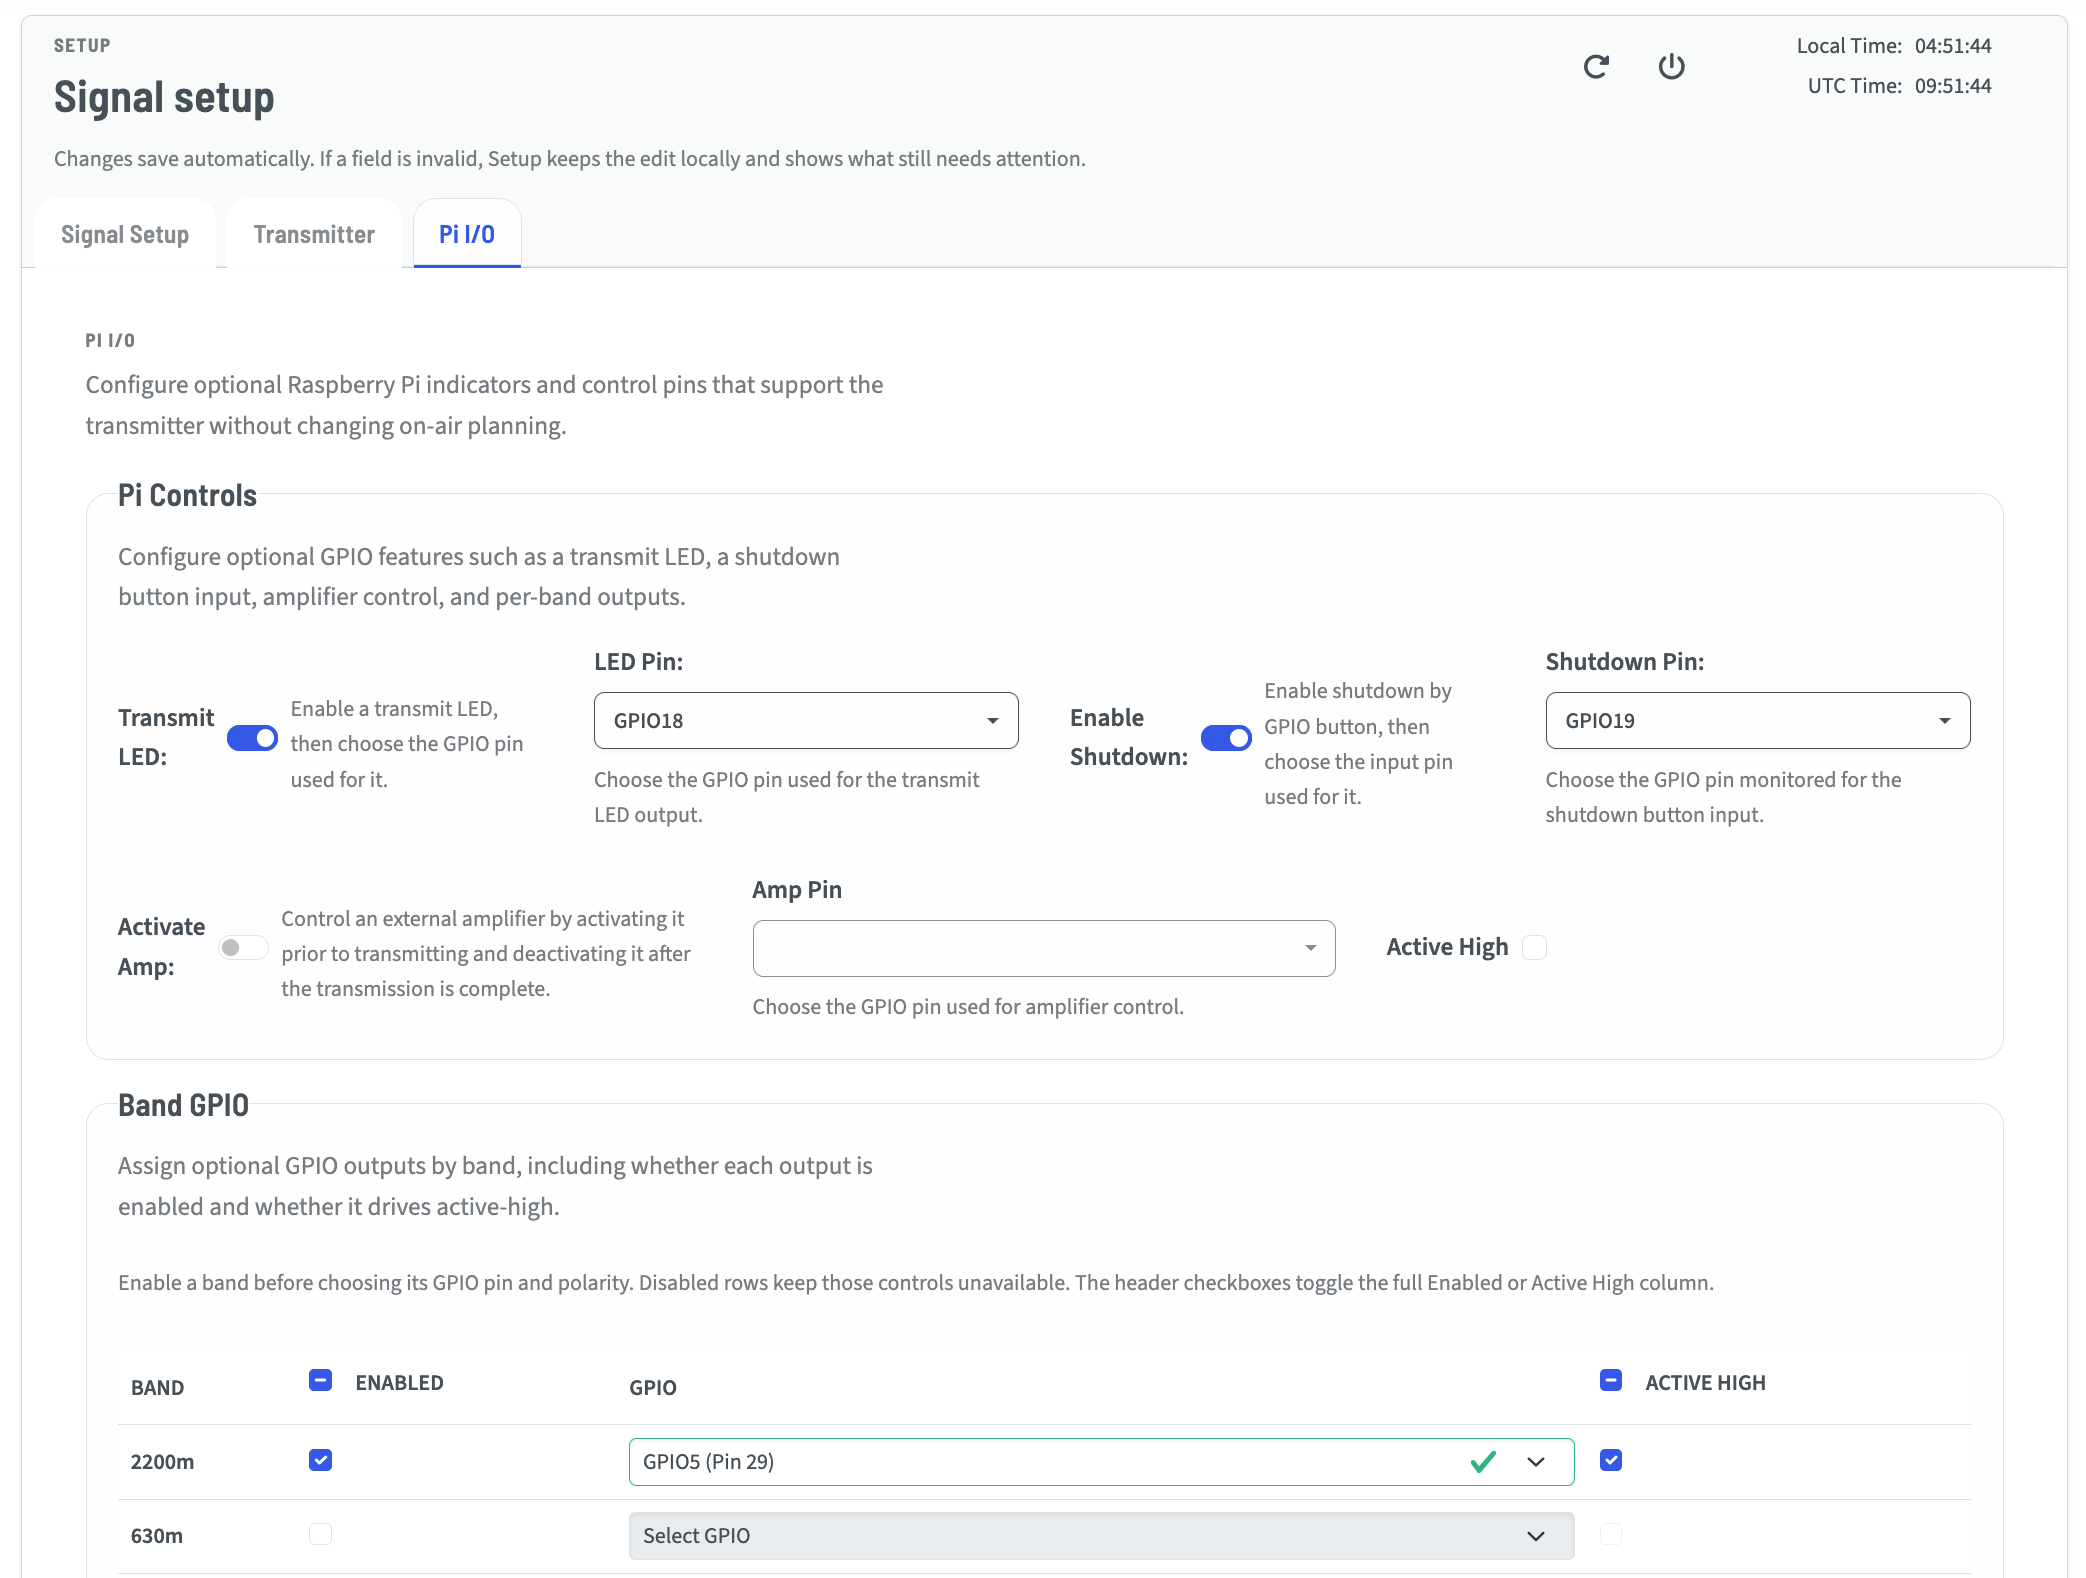
Transmit LED & LED Pin
Enabling the Transmit LED lets you monitor the transmission state without the Web UI.
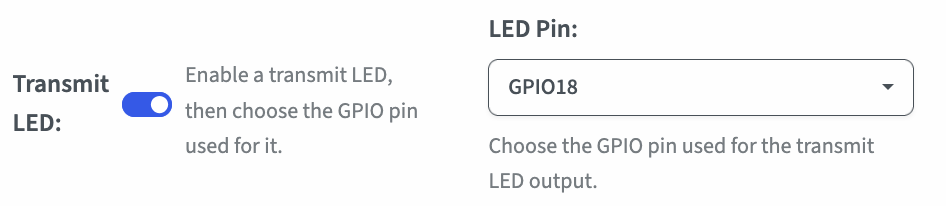
You may use the dropdown to configure it to a pin other than the TAPR default, which is GPIO18.
This is an Active High control ay 3V3 intended for use with an LED and a properly sized resistor.
Enable Shutdown & Shutdown Pin
Here you may enable a pin to be monitored for a shutdown event without requiring access to the web UI.
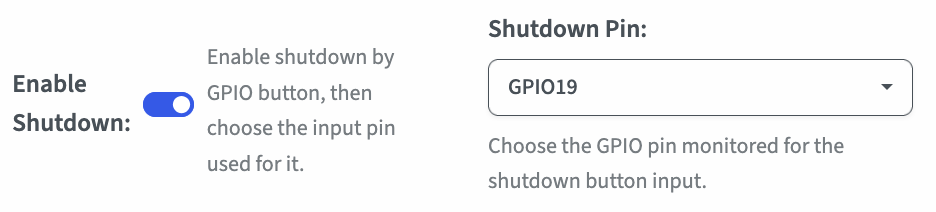
This is an active-low input, meaning the pin is held high with an internal pull-up resistor, and when grounded (pulled low) the Wsprry Pi daemon will initiate a shutdown.
Activate Amp
If you use an amplifier with an activation circuit, you may dedicate a pin to activate that amp on transmission.

You may select active high or low, depending on your need.
Danger
Most amplifiers allocate a pin to be grounded to its own chassis as an activation switch. Do not connect this directly to your Pi, it will overload your GPIO and may cause physical damage. A relay, SSR or MOSFET will be needed in most cases to switch the amp from the GPIO.
A small PC817 Optocoupler Isolation Board, such as this one available on Amazon, may be a good ready-made solution.
Band GPIO
This section allows you to set pins to drive relays per band, to use a device such as the QRP Labs Ultimate Relay-Switched LPF Kit.
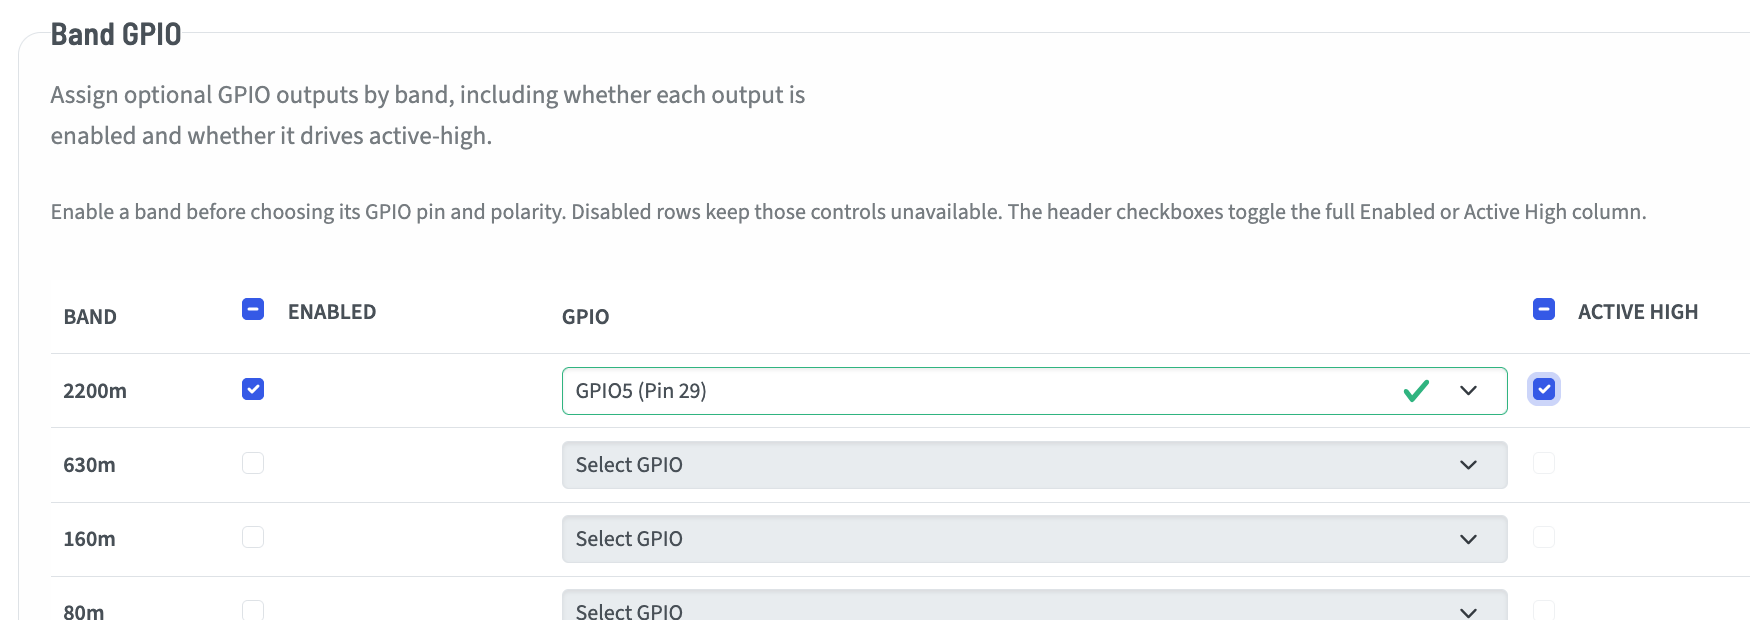
Whether you use a band selection such as 20m in WSPR, or a specific frequency, the system will determine which band that frequency represents. To energize a relay for that band, check the “Enabled” box for that band, select the GPIO pin you would like to use, and whether you want it to be “Active High” (checked) or “Active Low” (unchecked).
No error checking is performed intentionally. Only pins known to be usable are included in the drop-down, but you can select the same pin for multiple bands.